5. Debug Robot Power-On
5.1. Add robot and enable AMR
5.1.1. Device power-on
The left image shows power-off state, switch clockwise to the right image power-on state, and the device powers on.
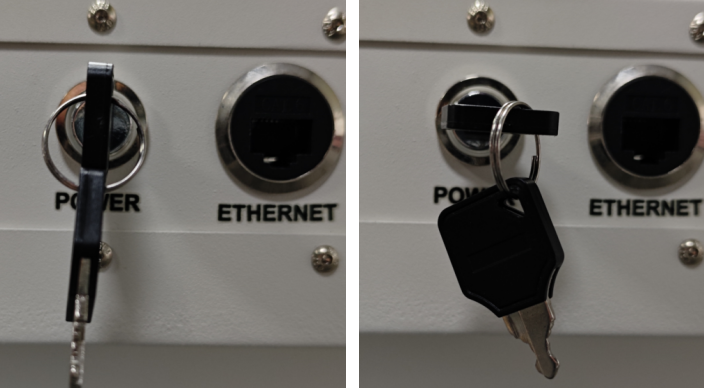
Chart 5-1 robot power on
5.2. Connect AMR
Use a network cable to connectAMRand the laptop, modify the computer’sipto192.168.58.3. Open the browser and enterhttp://192.168.58.3:3000.
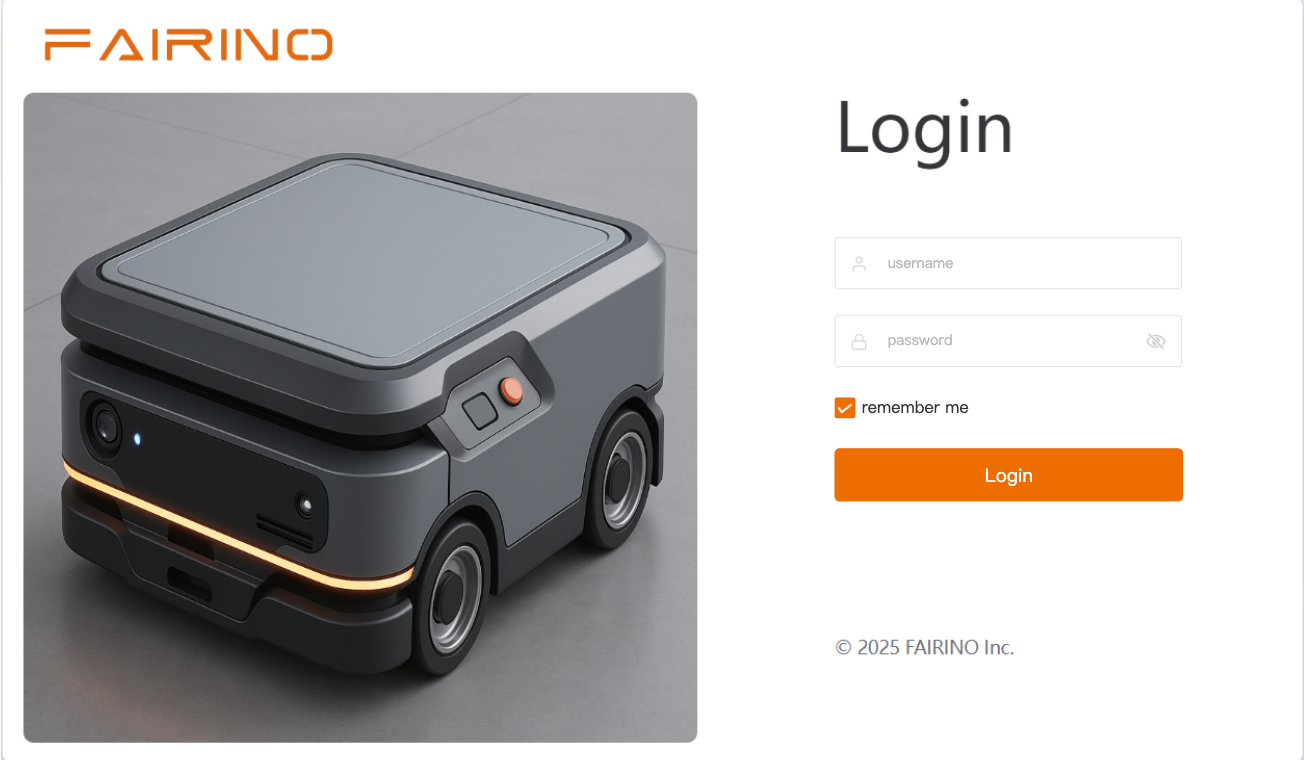
Chart 5-2 Login Interface
5.3. Manual joystick control
This part of the functionality allows users to interact directly with AMR through the software interface, including manual control and environment mapping.
**`Function entry`**: located on the main interface of the software, in the “`manual control”`panel or navigation bar.
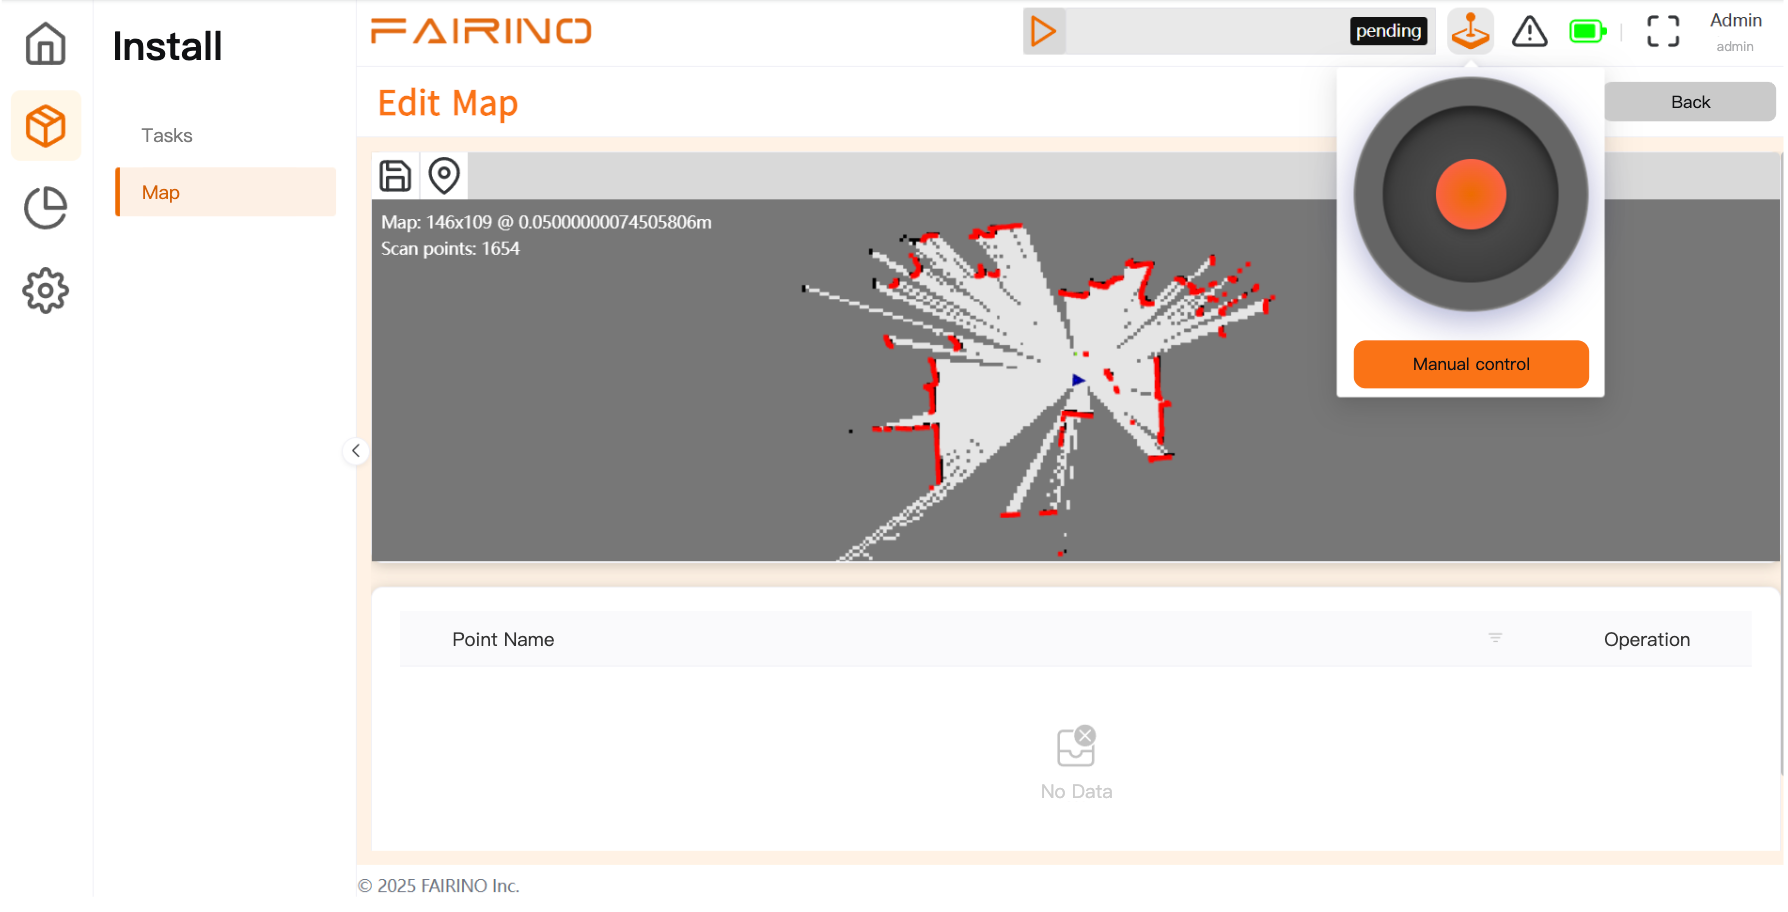
Diagram 5-3 Joystick Control Interface
Interface virtual joystick component usage steps are as follows:
Ensure the robot is in manual mode, and confirm there is sufficient safe space in the surroundings.
Find and gaze at the virtual joystick component on the interface。
Move the mouse cursor to the center point of the joystick.
Hold down the left mouse button and drag the joystick center point according to the intended movement direction:
Drag forward or backward: controls the robot to move forward or backward in a straight line; the greater the drag amplitude, the faster the robot moves.
Drag left or right:Control the robot to move in an arc to the left or right, or rotate in place。
Drag obliquely: combine linear velocity and angular velocity to make the robot move along the corresponding curved path.
When you need to stop the robot,release the left mouse button,the joystick will automatically return to center,and the robot will stop moving immediately。
5.4. Robot charging
Note

Name:Charging Precautions
Note: When charging in the area designated for AMR charging and swapping, keep away from open flames, high temperatures, humidity, and densely populated workplaces. No vehicle or battery disassembly, welding, or other maintenance sites shall be set up in this area.
The AMR factory battery can be used for 4-5 hours, after which it needs to be charged. Please use the original charger, and the specific charging steps are as follows:
Ensure the robot currently has no tasks and is in a stopped state.
Turn off the switch to the right of AMR,the entire machine immediately powers off,completing the shutdown process。
Note
If the robot is shut down due to transport, maintenance, or repair, the robot battery switch must be turned off.
5.4.1. Manual charging
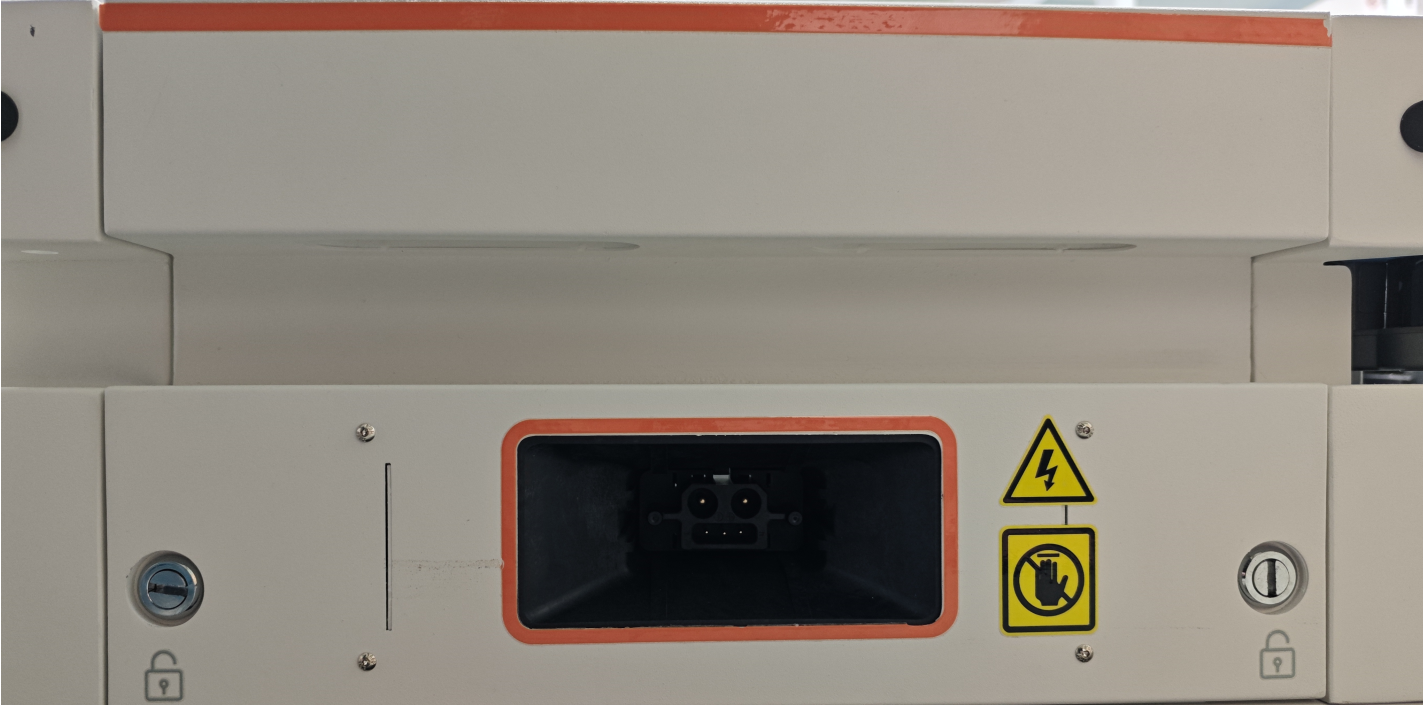
Chart 5-4 battery drawer switch status
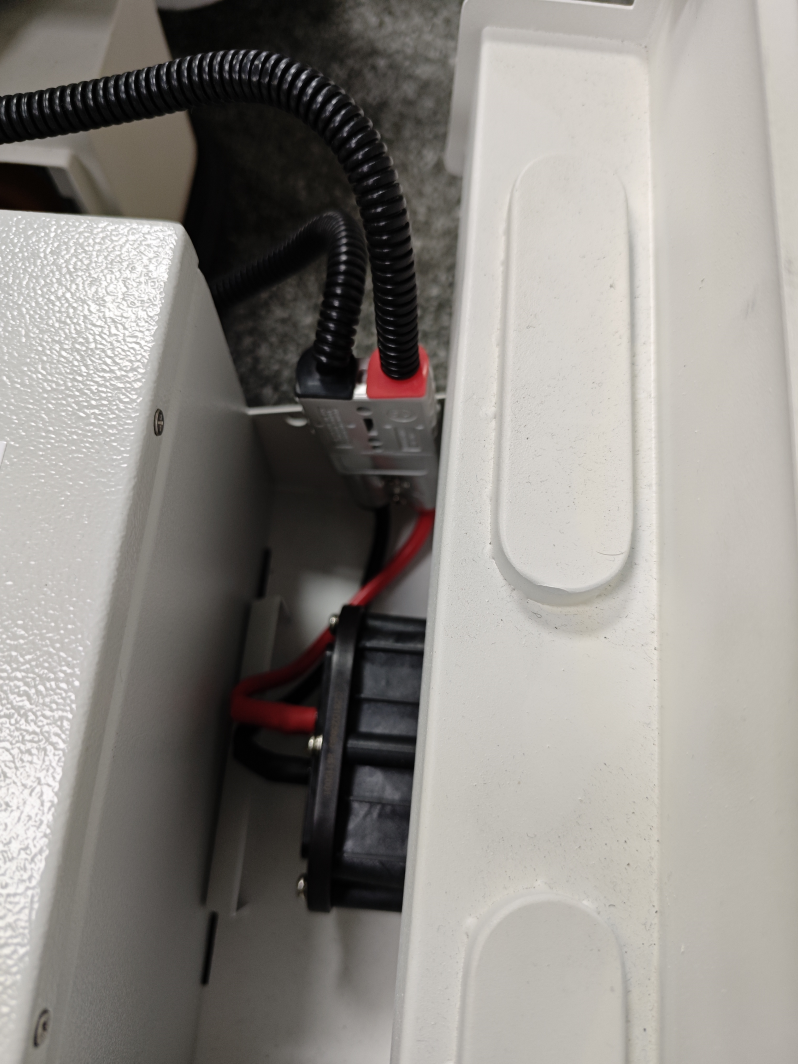
Chart 5-5 Charging Connector
When in the on state,pull out the battery drawer,unplug the charging connector in the red frame,connect the dedicated charger to charge,it takes about 2 hours to complete charging。